Installing a new air conditioning system is a significant investment, but the real work begins after the installation team leaves. Many homeowners assume everything is set once the unit is running, but skipping a proper post-installation check can lead to inefficiencies, higher energy bills, and avoidable repairs down the line.
This guide walks you through a practical, no-nonsense checklist to ensure your AC system is performing exactly as it should from day one.
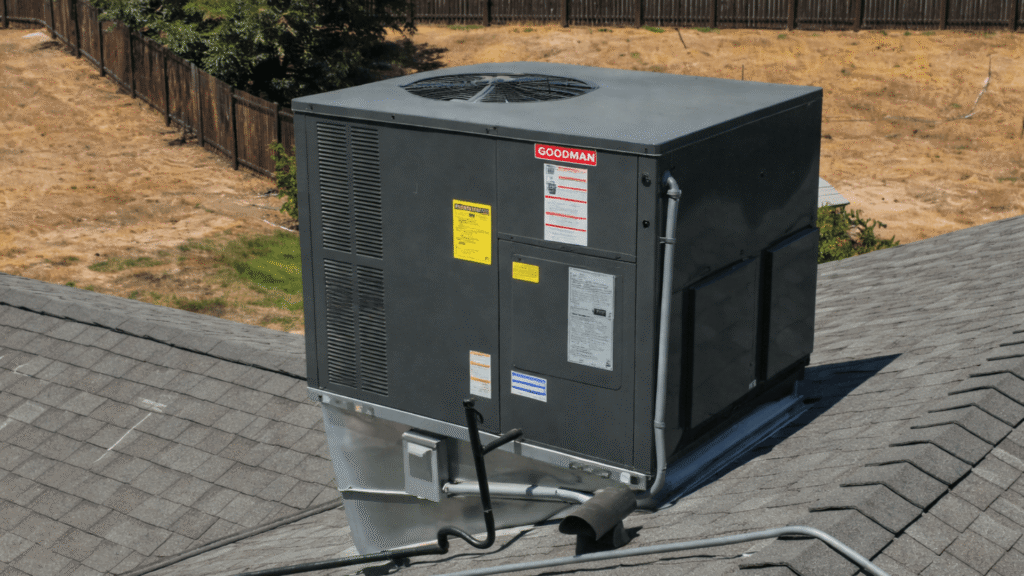
1. Confirm Proper Installation and Setup
Before anything else, verify that the installation was done correctly. Even small mistakes during setup can impact performance and lifespan.
Start by checking:
- The indoor and outdoor units are securely mounted
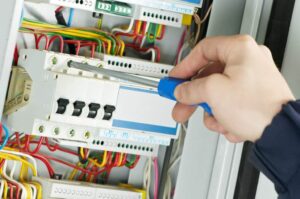
- Electrical connections are properly sealed and protected
- Refrigerant lines are insulated and not exposed
- There are no unusual vibrations or noise during operation
If you opted for professional help like My AC Guys, this step should already be covered, but never assume. A quick inspection now can save you from expensive fixes later.
2. Review Your Installation Details
Right after installation, take a few minutes to understand what exactly was installed.
If you haven’t already explored your setup, review the details of your system or service through trusted providers offering affordable ac installation services. Knowing your system type, capacity, and features helps you operate it correctly and avoid misuse.
Make sure you have:
- Model number and specifications
- Warranty documents
- Installer contact details
- Maintenance recommendations
Skipping this step is a mistake. If something goes wrong later, this information becomes critical.
3. Test Cooling Performance Immediately
Do not wait for peak summer to find out your AC is underperforming.
Turn the system on and observe:
- How quickly it cools the room
- Whether airflow is consistent across vents
- If the temperature matches the thermostat setting
A properly installed AC should start cooling within minutes. If you notice weak airflow or uneven cooling, address it immediately instead of adjusting to it.
4. Check Thermostat Calibration
A poorly calibrated thermostat can make even a high-end AC system inefficient.
Here’s what to do:
- Set the thermostat to a specific temperature
- Use a separate room thermometer to compare readings
- Ensure the AC turns on and off at the correct intervals
If there is a mismatch, recalibration or repositioning may be required. Thermostat placement matters more than most people realize.
5. Inspect Airflow and Ventilation
Your AC system is only as good as its airflow.
Walk through your home and check:
- All vents are open and unobstructed
- Airflow is balanced in each room
- No dust or debris is blocking ducts
Poor airflow reduces efficiency and increases strain on the system. If airflow feels weak, the issue is usually duct-related, not the AC unit itself.
6. Look for Air Leaks Around the Unit
Air leaks are silent efficiency killers.
Inspect areas around:
- Window or wall-mounted units
- Duct connections
- Insulation joints
Seal any gaps using appropriate materials. Even small leaks can reduce cooling efficiency and increase your electricity bill over time.
7. Verify Drainage System Functionality
Your AC removes moisture along with heat. That moisture needs to go somewhere.
Check the condensate drain line:
- Water should flow freely without blockage
- No leakage around the indoor unit
- No signs of mold or standing water
Clogged drains can lead to water damage and indoor air quality issues. This is not something to ignore.
8. Understand Energy Consumption Early
Do not wait for your first shocking electricity bill.
Track your AC usage in the first few days:
- Note how long it runs daily
- Compare expected vs actual cooling time
- Observe any unusual spikes in power usage
If your system seems to run constantly without reaching the desired temperature, something is wrong. Address it early.
9. Register Warranty and Service Agreements
Most homeowners forget this step and regret it later.
Immediately:
- Register your product warranty online
- Confirm installation warranty coverage
- Save all invoices and documentation
Without proper registration, you may lose access to free repairs or replacements.
10. Schedule Your First Maintenance Check
Do not wait six months.
A follow-up inspection within the first 30 to 60 days helps identify:
- Minor installation issues
- Refrigerant level imbalances
- Early wear and tear
Think of this as a quality check, not maintenance. It ensures everything is working as promised.
11. Learn Basic Maintenance Habits
If you ignore maintenance, your new AC will not stay “new” for long.
Start with simple habits:
- Clean or replace air filters every 2 to 4 weeks
- Keep the outdoor unit free from dust and debris
- Avoid setting extremely low temperatures continuously
These small actions have a direct impact on performance and lifespan.
12. Watch for Red Flags in the First Week
The first few days tell you everything about your AC system.
Pay attention to:
- Strange noises like grinding or buzzing
- Unpleasant odors
- Frequent on-off cycling
- Uneven cooling
Do not normalize these issues. Call your installer immediately if anything feels off.
Final Thoughts
Installing a new AC system is only half the job. What you do after installation determines how well that system performs over the next 10 to 15 years.
Most problems people face with air conditioners are not because of poor equipment, but because of missed checks and ignored warning signs early on.
If you take this checklist seriously, you will avoid unnecessary repairs, reduce energy costs, and get the full value out of your investment.
If you skip it, you are setting yourself up for frustration.
Be proactive. Test everything. Fix issues early. That is how you make your AC system actually worth the money you spent.