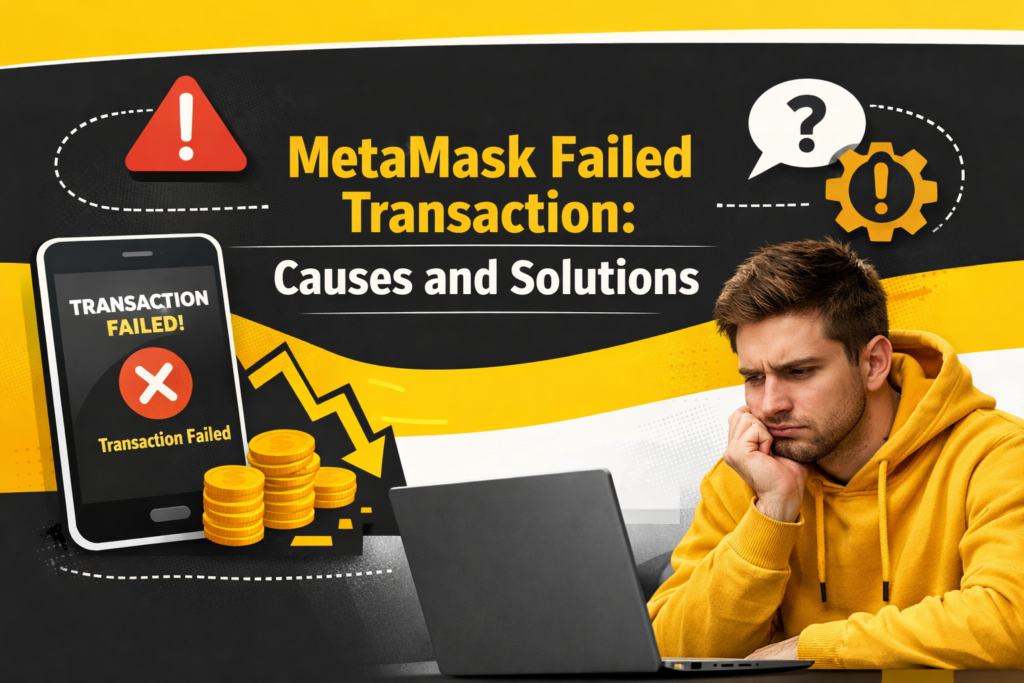
MetaMask Failed Transaction: Complete Guide to Causes, Fixes, and Prevention
Cryptocurrency transactions can sometimes be confusing, especially when things don’t go as planned. One of the most common issues users face is a MetaMask failed transaction. Whether you’re a beginner or an experienced crypto user, understanding why transactions fail and how to fix them is essential.
In this comprehensive guide, we will explore how MetaMask transactions work, the reasons for MetaMask failed transactions, how to fix them, and the difference between a failed transaction vs stuck transaction. We’ll also cover how to use Etherscan to track and analyze your transactions.
What is MetaMask and How MetaMask Transactions Work
MetaMask is a popular crypto wallet that allows users to interact with blockchain networks like Ethereum. It acts as a bridge between your browser and decentralized applications (dApps).
How MetaMask Transactions Work
When you initiate a transaction in MetaMask, the following steps occur:
-
Transaction Creation
You initiate an action such as sending crypto or interacting with a smart contract. -
Gas Fee Estimation
MetaMask calculates a gas fee required to process the transaction. -
Signing the Transaction
You approve and sign the transaction using your wallet. -
Broadcast to Network
The transaction is sent to the Ethereum network. -
Validation by Miners/Validators
The network confirms the transaction and adds it to the blockchain. -
Transaction Completion
Once confirmed, the transaction is finalized.
However, if something goes wrong during any of these steps, it may result in a MetaMask failed transaction.
MetaMask Failed Transaction: What Does It Mean?
A MetaMask failed transaction occurs when a transaction is submitted but cannot be completed successfully. Even though the transaction fails, you may still lose the gas fee because miners/validators spent resources attempting to process it.
This can be frustrating, especially for new users, but understanding the reasons behind it can help you avoid future issues.
Reasons for MetaMask Failed Transactions
There are several reasons why a MetaMask transaction might fail. Let’s break down the most common ones.
1. Insufficient Gas Fees
One of the primary causes is setting a gas fee that is too low. If the fee is below the network’s required level, validators may ignore your transaction.
2. Network Congestion
During periods of high activity on Ethereum, gas fees increase significantly. Transactions with low gas fees may fail or get dropped.
3. Smart Contract Errors
If you’re interacting with a decentralized application, the smart contract itself might reject the transaction due to:
-
Incorrect inputs
-
Failed conditions
-
Contract bugs
4. Insufficient Funds
If you don’t have enough ETH to cover both the transaction amount and gas fees, the transaction will fail.
5. Nonce Issues
Each transaction has a unique nonce. If transactions are sent out of order or a nonce is reused incorrectly, it can lead to failure.
6. Slippage Errors (DEX Transactions)
When trading tokens on decentralized exchanges, slippage settings may cause transactions to fail if the price changes too much before confirmation.
7. RPC or Network Errors
Sometimes the issue is not with your transaction but with the network connection or RPC provider used by MetaMask.
MetaMask Failed Transaction vs Stuck Transaction
It’s important to understand the difference between a failed and a stuck transaction.
Failed Transaction
-
The transaction is processed but unsuccessful
-
Gas fees are deducted
-
The transaction is recorded on the blockchain
Stuck Transaction
-
The transaction is pending for a long time
-
Not yet confirmed or rejected
-
Can often be fixed by speeding up or canceling
Understanding this distinction helps you choose the correct solution.
How to Fix a MetaMask Failed Transaction
Fixing a MetaMask failed transaction depends on the cause. Below are practical solutions you can apply.
1. Increase Gas Fees
If your transaction failed due to low gas fees:
-
Retry the transaction
-
Set a higher gas fee
-
Use the “High” or “Aggressive” option in MetaMask
2. Check Network Conditions
Before sending a transaction:
-
Monitor Ethereum gas prices
-
Avoid peak congestion times
3. Verify Smart Contract Details
Ensure:
-
Correct contract address
-
Proper token amount
-
Valid interaction with the dApp
4. Reset MetaMask Account
If nonce issues occur:
-
Go to MetaMask settings
-
Reset account (this clears transaction history but not funds)
5. Adjust Slippage Tolerance
For DEX transactions:
-
Increase slippage tolerance slightly
-
Avoid setting it too high to prevent losses
6. Ensure Sufficient Balance
Always keep extra ETH in your wallet to cover gas fees.
7. Use Advanced Gas Settings
You can manually adjust:
-
Gas limit
-
Max priority fee
-
Max fee
This gives you better control over transaction success.
How to Check Failed Transactions on Etherscan
Tracking your transaction is essential for diagnosing problems. Etherscan is the best tool for this.
Steps to Check a Failed Transaction
-
Copy your transaction hash (TxID) from MetaMask
-
Visit Etherscan
-
Paste the TxID into the search bar
-
Review transaction details
What to Look For
-
Status: Failed or Success
-
Gas Used: Indicates if gas limit was exceeded
-
Error Message: Explains why it failed
Etherscan often provides detailed error messages such as:
-
“Out of Gas”
-
“Execution Reverted”
-
“Transaction Underpriced”
These insights help you identify the exact issue.
Common Error Messages and Their Meaning
Understanding error messages can save you time and money.
Out of Gas
-
Gas limit too low
-
Solution: Increase gas limit
Execution Reverted
-
Smart contract rejected transaction
-
Solution: Check inputs and conditions
Transaction Underpriced
-
Gas fee too low
-
Solution: Increase gas price
Nonce Too Low
-
Transaction sequence issue
-
Solution: Reset or correct nonce
Tips to Prevent MetaMask Failed Transactions
Prevention is always better than fixing errors later. Here are some tips:
1. Always Check Gas Fees
Use real-time gas trackers before sending transactions.
2. Double-Check Transaction Details
Ensure all details are correct before confirming.
3. Avoid Peak Hours
High network traffic increases failure chances.
4. Use Reliable Networks
Switch to a stable RPC provider if needed.
5. Keep Extra ETH
Maintain a buffer balance for gas fees.
6. Test with Small Transactions
Before large transfers, test with a small amount.
Advanced Troubleshooting for MetaMask Failed Transactions
For experienced users, here are some advanced solutions:
Replace Transaction
You can resend the same transaction with:
-
Higher gas fee
-
Same nonce
Cancel Transaction
Send a zero-value transaction to yourself with the same nonce to cancel the pending one.
Use Custom RPC
Switching RPC endpoints can sometimes resolve network-related failures.
Why Gas Fees Are Still Charged on Failed Transactions
Many users wonder why they lose gas fees even when transactions fail.
The reason is simple:
-
Validators still process the transaction
-
Computational work is done
-
Resources are consumed
Therefore, the fee is charged regardless of success.
Final Thoughts
A MetaMask failed transaction can be frustrating, but it’s a common part of interacting with blockchain networks like Ethereum. By understanding how MetaMask transactions work, identifying the reasons for MetaMask failed transactions, and learning how to fix them, you can significantly reduce errors and save money.
Using tools like Etherscan to analyze transactions and applying best practices will make your crypto experience smoother and more efficient. Long-Term vs Short-Term Crypto Investing
Remember, every failed transaction is a learning opportunity. With the right knowledge and precautions, you can navigate the crypto world with confidence and minimize risks.